Spray Painting light fixtures is Fun and Easy!

Spray painting light fixtures is a fun and easy way to make all your light fixtures sorta match. Here's another one - 

This base probably wasn't always white as from what I can tell. The original fixtures are all some kind of metal-tone finish

This base probably wasn't always white as from what I can tell. The original fixtures are all some kind of metal-tone finish

Since we've chosen to go with a black-spraypainted-decorative-metal theme so far, it makes sense to make this light match the others.

The shade looks newer

The shade looks newer

Doesn't exactly rock your socks, does it? 

Doesn't exactly rock your socks, does it? 


We often shop around at estate sales and a new shade was on my list. I saw a nice looking milk glass shade for $3 so I grabbed that.

image.jpg

Spray paint is almost too easy. Almost

image.jpg
Light is up and better looking IMO

Light is up and better looking IMO

Meeko was watching me from afar

Meeko was watching me from afar

image.jpg

I think it's an improvement

Big, Cheap, Ugly light fixture for the Master Bedroom

image.jpg

Yes, I know... it looks like something people put over their pool tables in the '70s. My friend Dan May, from Dan May estates said to Christina, "Do you have a game room?" since that probably seems like the only reason someone would want this fixture. It actually appears to be exactly the right size for the master bedroom. It makes about a 4.5' triangle shape

looking up pics of "'70s wrought iron light fixture" I noticed it was missing the shadehttps://retrophoria.com/seller/SANTACLARASTUDIO/2-Vintage-Wrought-Iron-and-Amber-Glass-Hanging-Lights/

looking up pics of "'70s wrought iron light fixture" I noticed it was missing the shade

https://retrophoria.com/seller/SANTACLARASTUDIO/2-Vintage-Wrought-Iron-and-Amber-Glass-Hanging-Lights/

I discovered ours was missing the shade but decided to simply use large vanity globes and ignore the shade for the sake of simplicity.

image.jpg

I got the parts for the base that were missing in the Lamp Parts section of Ace Hardware. The brass thing on the left is just to cover a hole that was probably for a switch (hole on the right). The brass thing on the right is a finial (cap) and lamp nipple (threaded tube) to connect the base to the ceiling. 

image.jpg
The paint was an awful "brown with hints of scratched gold" finish and it needs to be black to match the other black painted metal fixtures and our bed frame. 

The paint was an awful "brown with hints of scratched gold" finish and it needs to be black to match the other black painted metal fixtures and our bed frame. 

WOW it looks so much better in black

WOW it looks so much better in black

It's nice to have the lamp nipple (threaded tube) long enough so you can hold the fixture up while you wire it then tighten down the finial (decorative nut) when you're done. 

I had to touch up the paint with the fixture up there because the chains move around as it settles into place. I had to give it a few shakes and wiggles to get it to sit as the chains and wires can bind together.

I had to touch up the paint with the fixture up there because the chains move around as it settles into place. I had to give it a few shakes and wiggles to get it to sit as the chains and wires can bind together.

The room is pretty dark with the gold curtains so I opted for 2 100W globes

image.jpg

I usually put in a light bulb after I connect the wires and turn on the light to make sure it's working. It also helps to know that the connections are solid while you tighten down the finial because you can see if the light starts flickering. 

It looks pretty sweet like this but I'm going to put the glass back in because it goes with the yellow window glass and gold curtains. 

It looks pretty sweet like this but I'm going to put the glass back in because it goes with the yellow window glass and gold curtains. 

Time to clean the glass

image.jpg

WOW this looks way better than I thought it would. It's the perfect size and shape and matches the curtains, windows and other lights I've added. $20 plus some small lamp parts, spray paint and light bulbs! Awesome. 

image.jpg
Looks awesome with those curtains which have black fleur-de-lys rod ends

Looks awesome with those curtains which have black fleur-de-lys rod ends

The glass behind the curtains is yellow too! 

The glass behind the curtains is yellow too! 

While that turned out an awesome success! I might have to bail on the candelabra I was building from scratch... 

It even matches the laundry room light and this wall light I got for $10 that came with the Spanish gothic light fixtures I got for the living room  

It even matches the laundry room light and this wall light I got for $10 that came with the Spanish gothic light fixtures I got for the living room  

Master Closet Remodel

Since I work a 9-6 type of job, I don’t get to work on the bigger projects Evan is working on. I would also have close to no idea of how to even begin and execute most of them. But I have been working on some things, mainly in the master bedroom. The first project I started was the master closet. While the size and layout were ideal from the beginning, its physical condition was far from it. This closet was likely an addition made after the original house was built and a poorly built one. It is currently completely wrapped in plastic and tarps at the exterior.

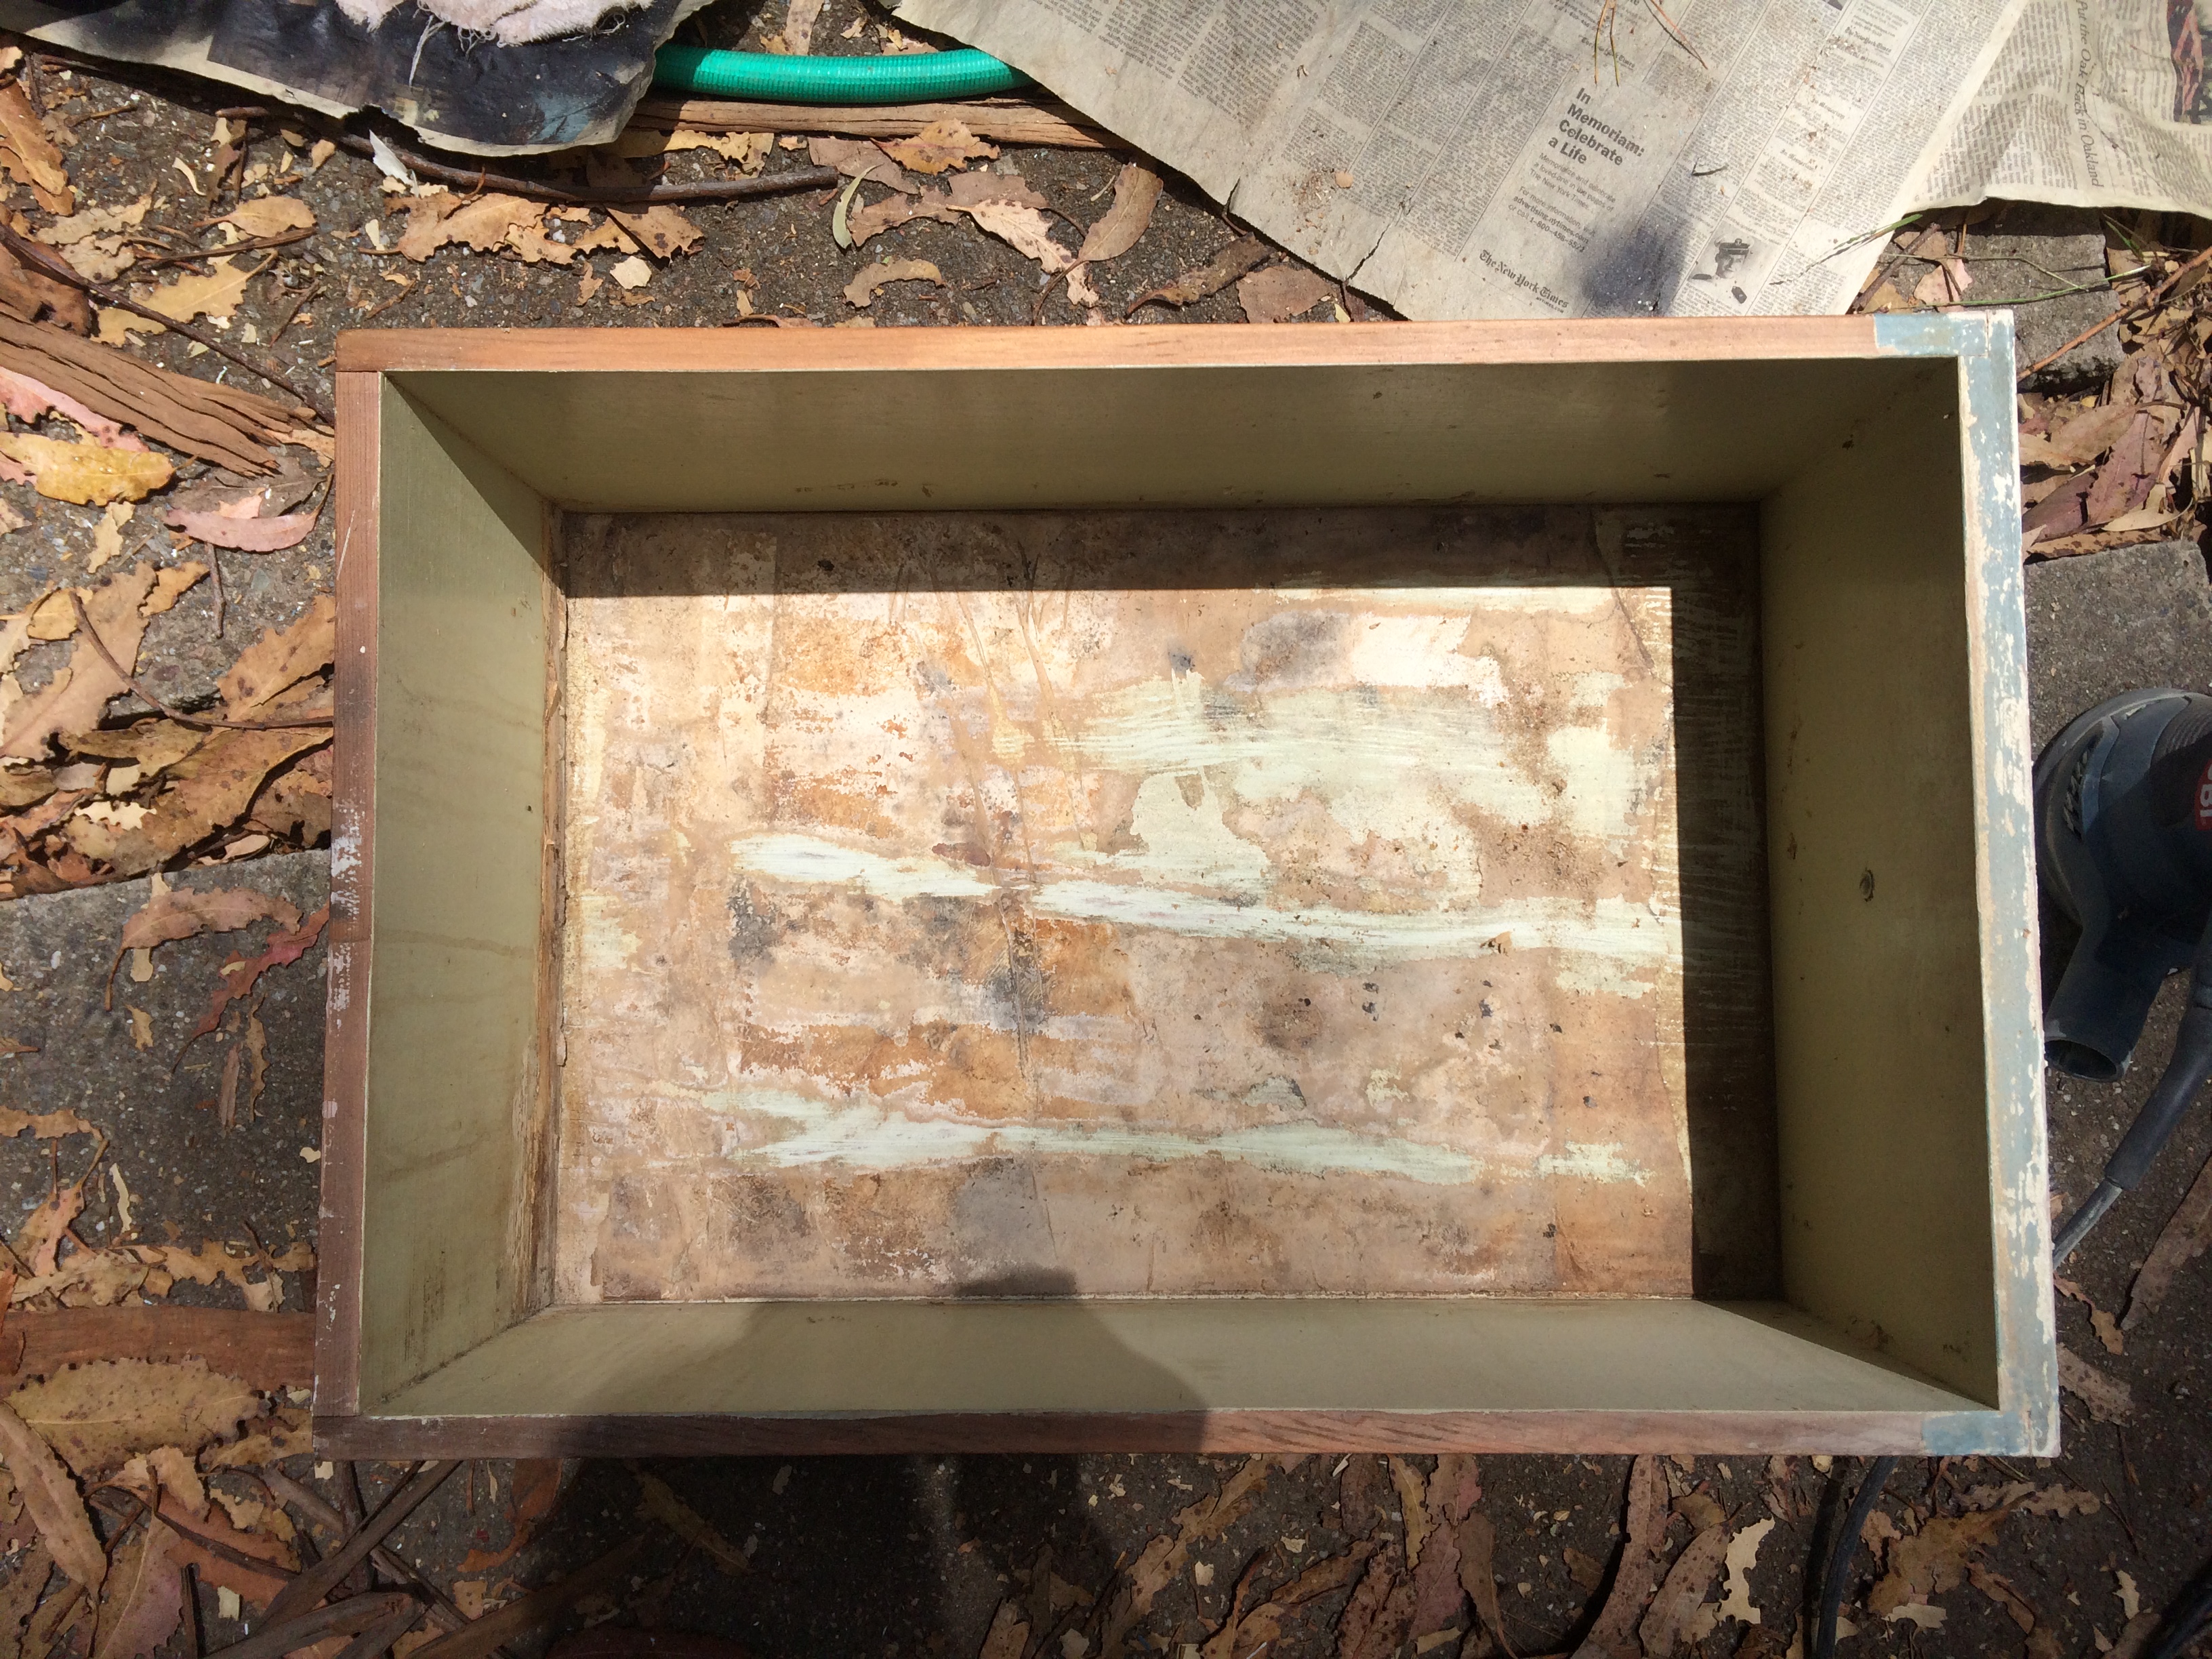
Before these tarps were added, a bit a water made its way in the closet, causing a lot of the cabinetry to have water damage. Unfortunately, I forgot to take pictures of the inside of the closet showing the damage, but I did take on of the inside of one of the drawers. Most of the drawers were in this state so I had to do something to clean them up…

IMG_7962.JPG

First, I cleaned them all with a wet rag and then primed both the inside and outside.

Second, I painted them with Behr zinser in "Swiss Coffee" color.

IMG_7977.JPG

Then I lined the inside of them with wrapping paper that I got at Marshall’s for $3/roll (ended up using 1.5 rolls) by using Mod Podge (*link). These were the steps:

  1. Measure the inside of the drawer and cut the wrapping paper to the measured dimensions

  2. Line the bottom of the drawer with a layer of Mod Podge using a foam brush

  3. Carefully place the cut paper on the Mod Podge. I tried sticking the middle of the paper first and then carefully setting it down inside to the outside to avoid air bubbles getting stuck under the paper. (I do need to practice this technique, but am still happy with the outcome.)

  4. Add another layer of Mod Podge and let it dry (I waited a whole day)

  5. Add one last layer of Mod Podge and let it dry
modpodgedrying.JPG

I also primed and painted both the inside and outside of the rest of the closet; doors, shelves, interior/exterior faces. This wasn’t so bad, but it did take awhile because I didn’t use tape to protect surfaces I didn’t want painted and free handed with a small brush (large faces were done with a roller).

closetbefore
primedcloset

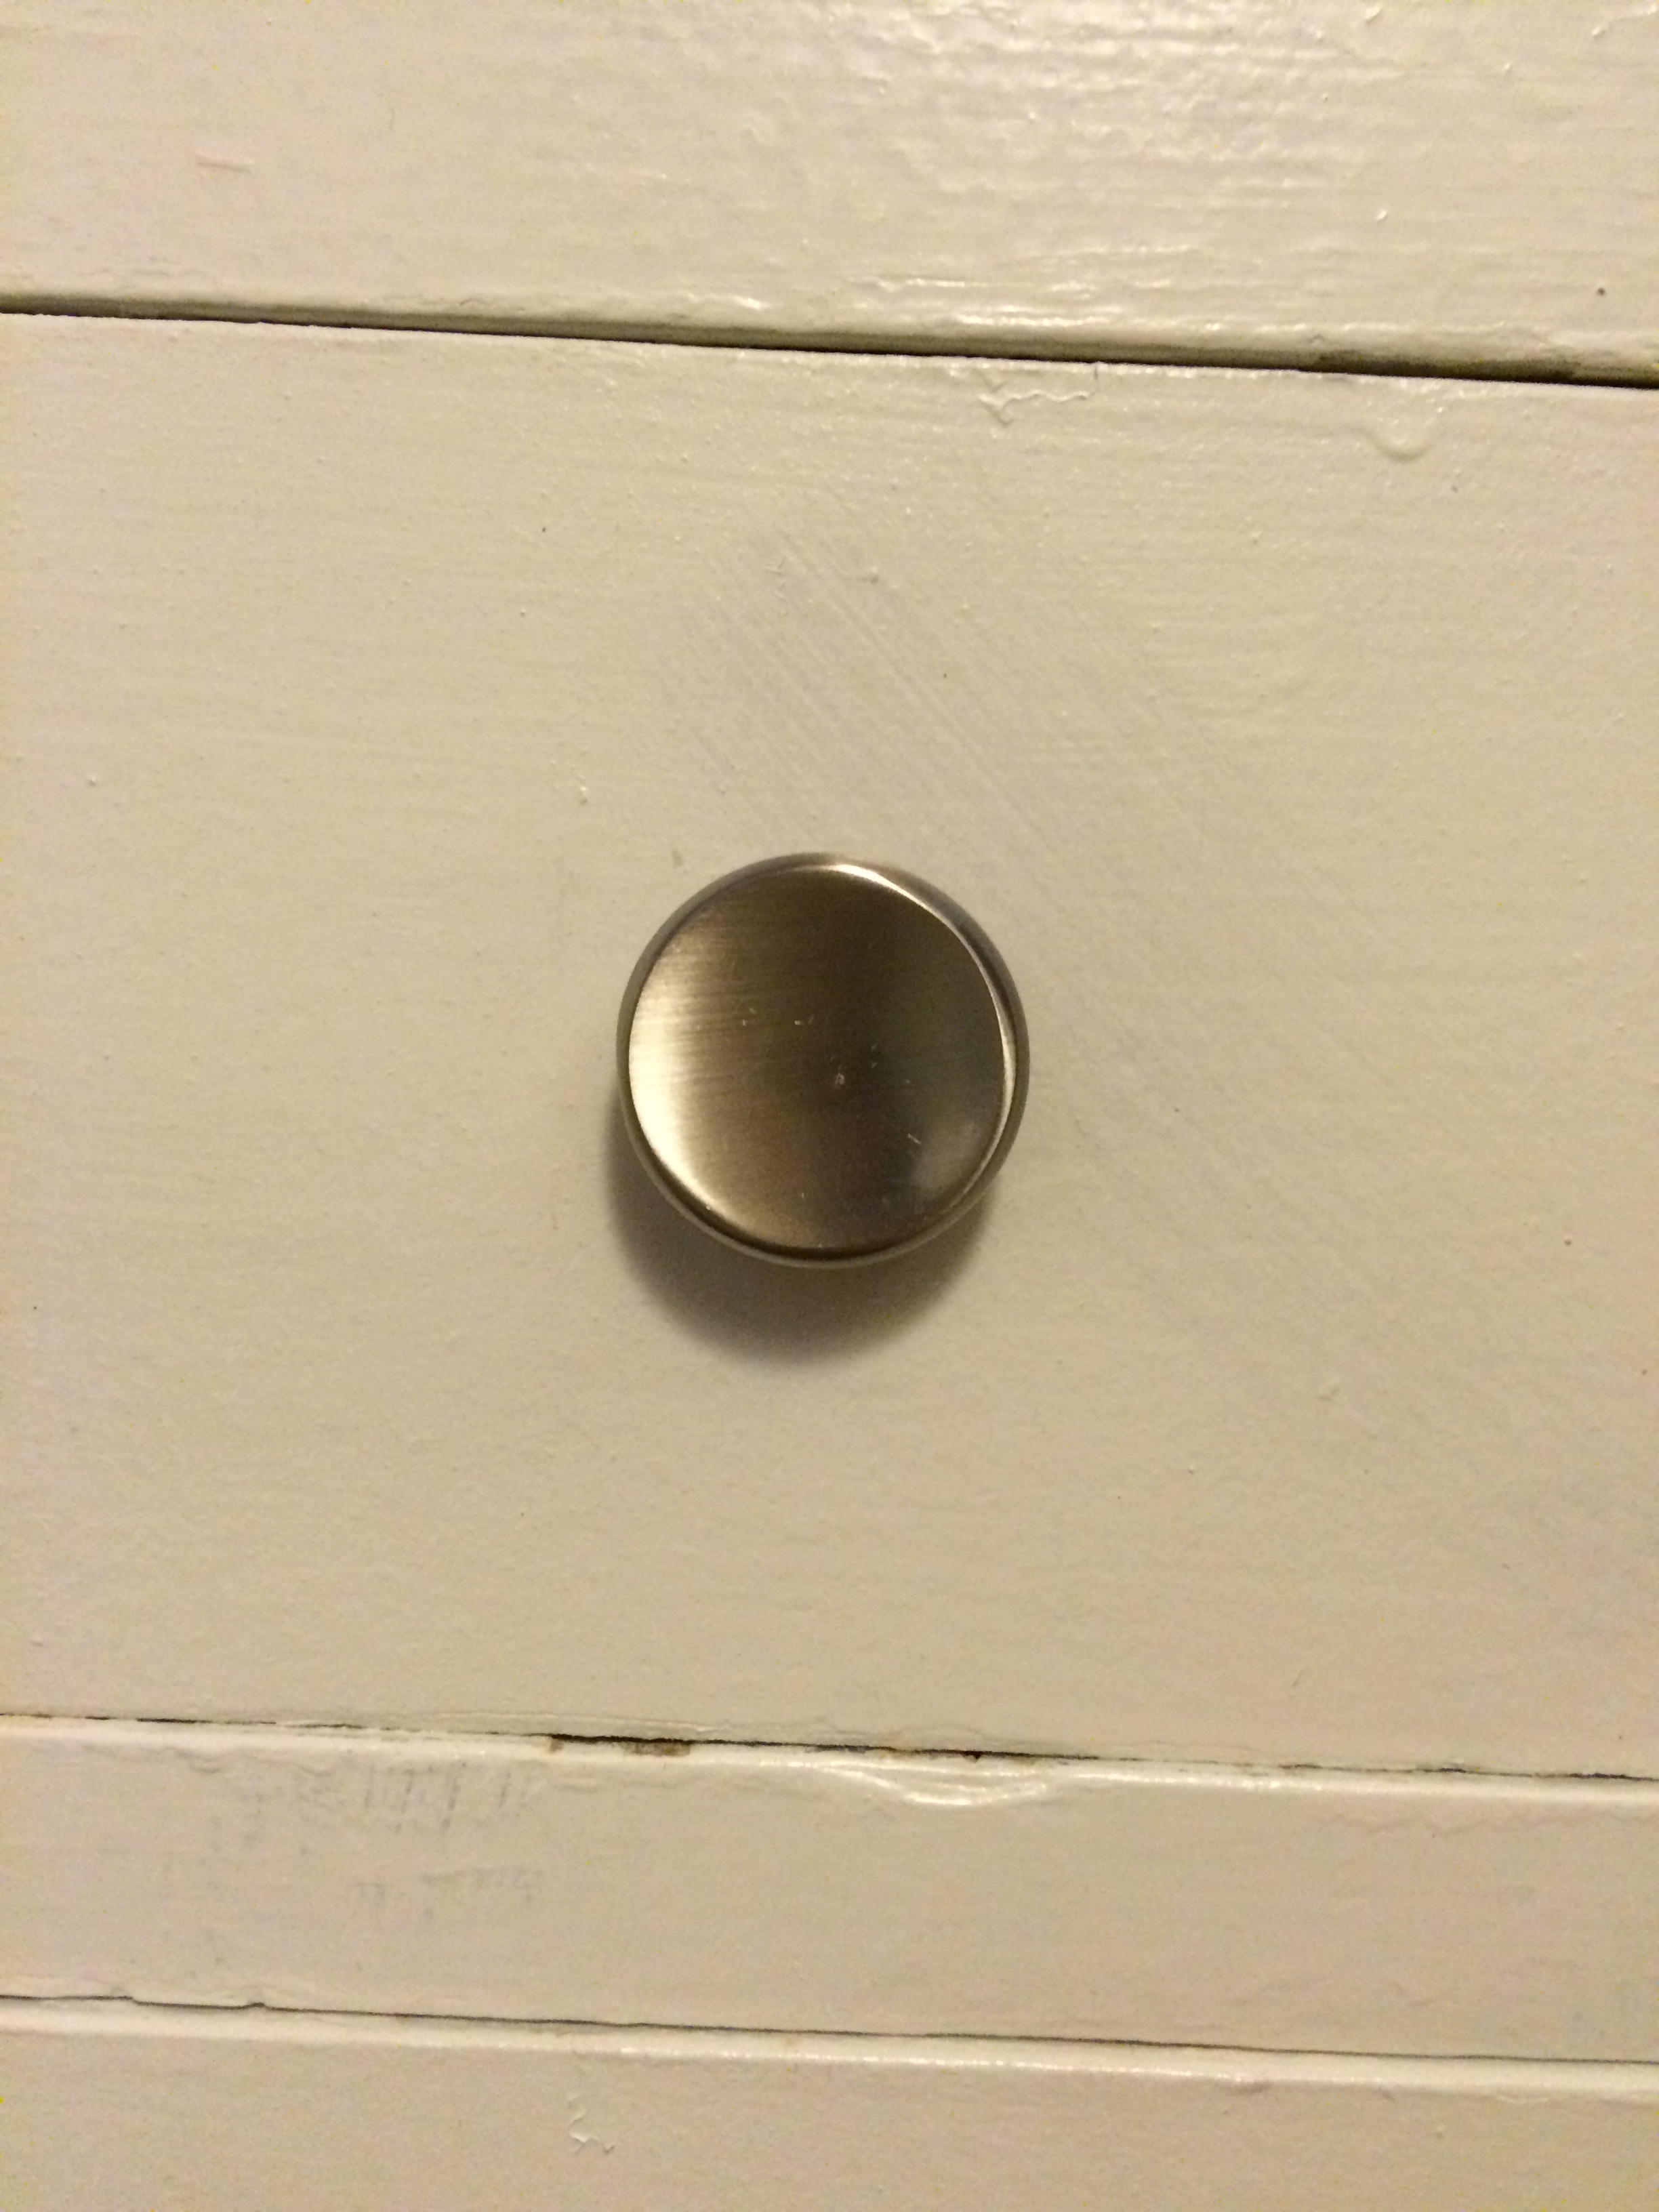
Before painting or priming everything, I took off the existing wooden knobs because I knew I would want them replaced. I ended up choosing simple nickel knobs from Home Depot that cost $1.28/each. 

masterclosetknobs

Another update I made to the closet was adding a giant mirror from Home Depot to the vanity area. I love that it takes up the whole wall; it helps open up the room. http://www.homedepot.com/p/Glacier-Bay-48-in-x-36-in-Beveled-Framed-Wall-Mirror-901360/205186420   (check if correct mirror)

And 2 weeks later, my closet was done! I am very happy with how it turned out. I love that all of my clothing, shoes, accessories, etc. fit in one space together. In the past I’ve always had to use under bed storage bins and with this closet, that has been avoided.


Cabinet Wood Repair, Old Growth Redwood and Cedar, Clear Grain, and a $50 piece of wood

I needed some pieces of cabinet wood. I took a piece to MacBeath lumber in Berkeley

image.jpg

I thought it was cedar, but the expert there said it was old growth redwood because it was too heavy to be cedar. "If you really want to match this, you need to go to the Lumber Baron in Albany." So it's old growth redwood, and that's hard to find and expensive. I decided to look at their cedar because if the only difference is weight, that won't matter when nailed to the wall. Plus this isn't meant to be a forever fix. In maybe 10 years I want to expand the kitchen and that's going to be super expensive and at that point I'll get some new cabinets made out of clear grain cedar or something for like 35K... Yikes

I looked through their boards and got the brownest one to match the oxidation of the old wood. I had to get "V.G. CLEAR" redwood which means clean, tight grain. At 1x6"x12', it was about $7.50 a board foot. (6" is half a foot so 6"x12' is equal to 1'x6' so 6 board feet). It was $50

image.jpg

$50 but it matches so well! 

I think I can darken it with a yellow stain

I think I can darken it with a yellow stain

Matching the finish will be hard...

It's hard to see but there's a "Mary Kay" white type finish which is a milky finish. 

It's hard to see but there's a "Mary Kay" white type finish which is a milky finish. 

The milky finish is a closest match to "pickled oak"  which looks like this on pine

image.jpg

FUN FACT: The above finish was used on Fender guitars in the '50s and '60s over Ash under the name "Mary Kay White." 


Fender "Mary Kay White" Stratocaster '57 reissue

Fender "Mary Kay White" Stratocaster '57 reissue

But our cabinets are actually a little purple

image.jpg
Back door is very purple. The picture doesn't show it but it looks more like blueberry ice cream

Back door is very purple. The picture doesn't show it but it looks more like blueberry ice cream

image.jpg
I had to shrink the cabinet up 3" to fit a modern fridge. 

I had to shrink the cabinet up 3" to fit a modern fridge. 

Now I need to cut down the door. 

image.jpg
image.jpg
image.jpg
image.jpg
image.jpg
image.jpg
image.jpg

OK! I got the original cabinet trimmed up about 3" to fit a modern fridge. I'll figure out how to reproduce the milky pink stain in another post.