The 30's Wedgewood stove is up and running!

After weeks of telling ourselves we were close to getting the stove installed, we finally did it! Well, mostly Evan... He found the stove off Craigslist from a woman in Berkeley who only charged the manual labor of moving it out of her apartment. It is VERY heavy.  

The space for the stove was an odd dimension: 38 inches. Stoves are not made at this width anymore, but once were back when the house was built. This Wedgewood is the perfect width and seems to be working perfectly! The woman who sold it to Evan said the thermostat was broken, but it appears that there was only a safety button that had to be re-set.

Evan found the safety switch! 

Evan found the safety switch! 

We were also lucky that the original salt and pepper shakers that came with the stove are still around.

wedgewoodsaltandpepper.jpg

Now we can finally cook stovetop meals at home!

pancakes on the griddle :)

pancakes on the griddle :)

Alameda Thrift Haul

Evan and I have a routine most Saturdays that starts with coffee and is followed by a trip to Alameda to do some thrifting. Our favorite place to go is Redux. It's an amazing little shop that is also part art gallery and has incredible salvaged items for insane prices (as seen below...). Today's trip was a grand success; we bought plenty of goods for the house and kept the cost under $50. Here's what we got!

6-pack Mushroom shooters for $2

6-pack Mushroom shooters for $2

splattered mixing bowls for $5.50/each

splattered mixing bowls for $5.50/each

condiment set for $2

condiment set for $2

embroidered kitchen towels for $2/each

embroidered kitchen towels for $2/each

retro "Cooling Dishes" cookbook for $2

retro "Cooling Dishes" cookbook for $2

pyrex dish with brass stand for $5.50

pyrex dish with brass stand for $5.50

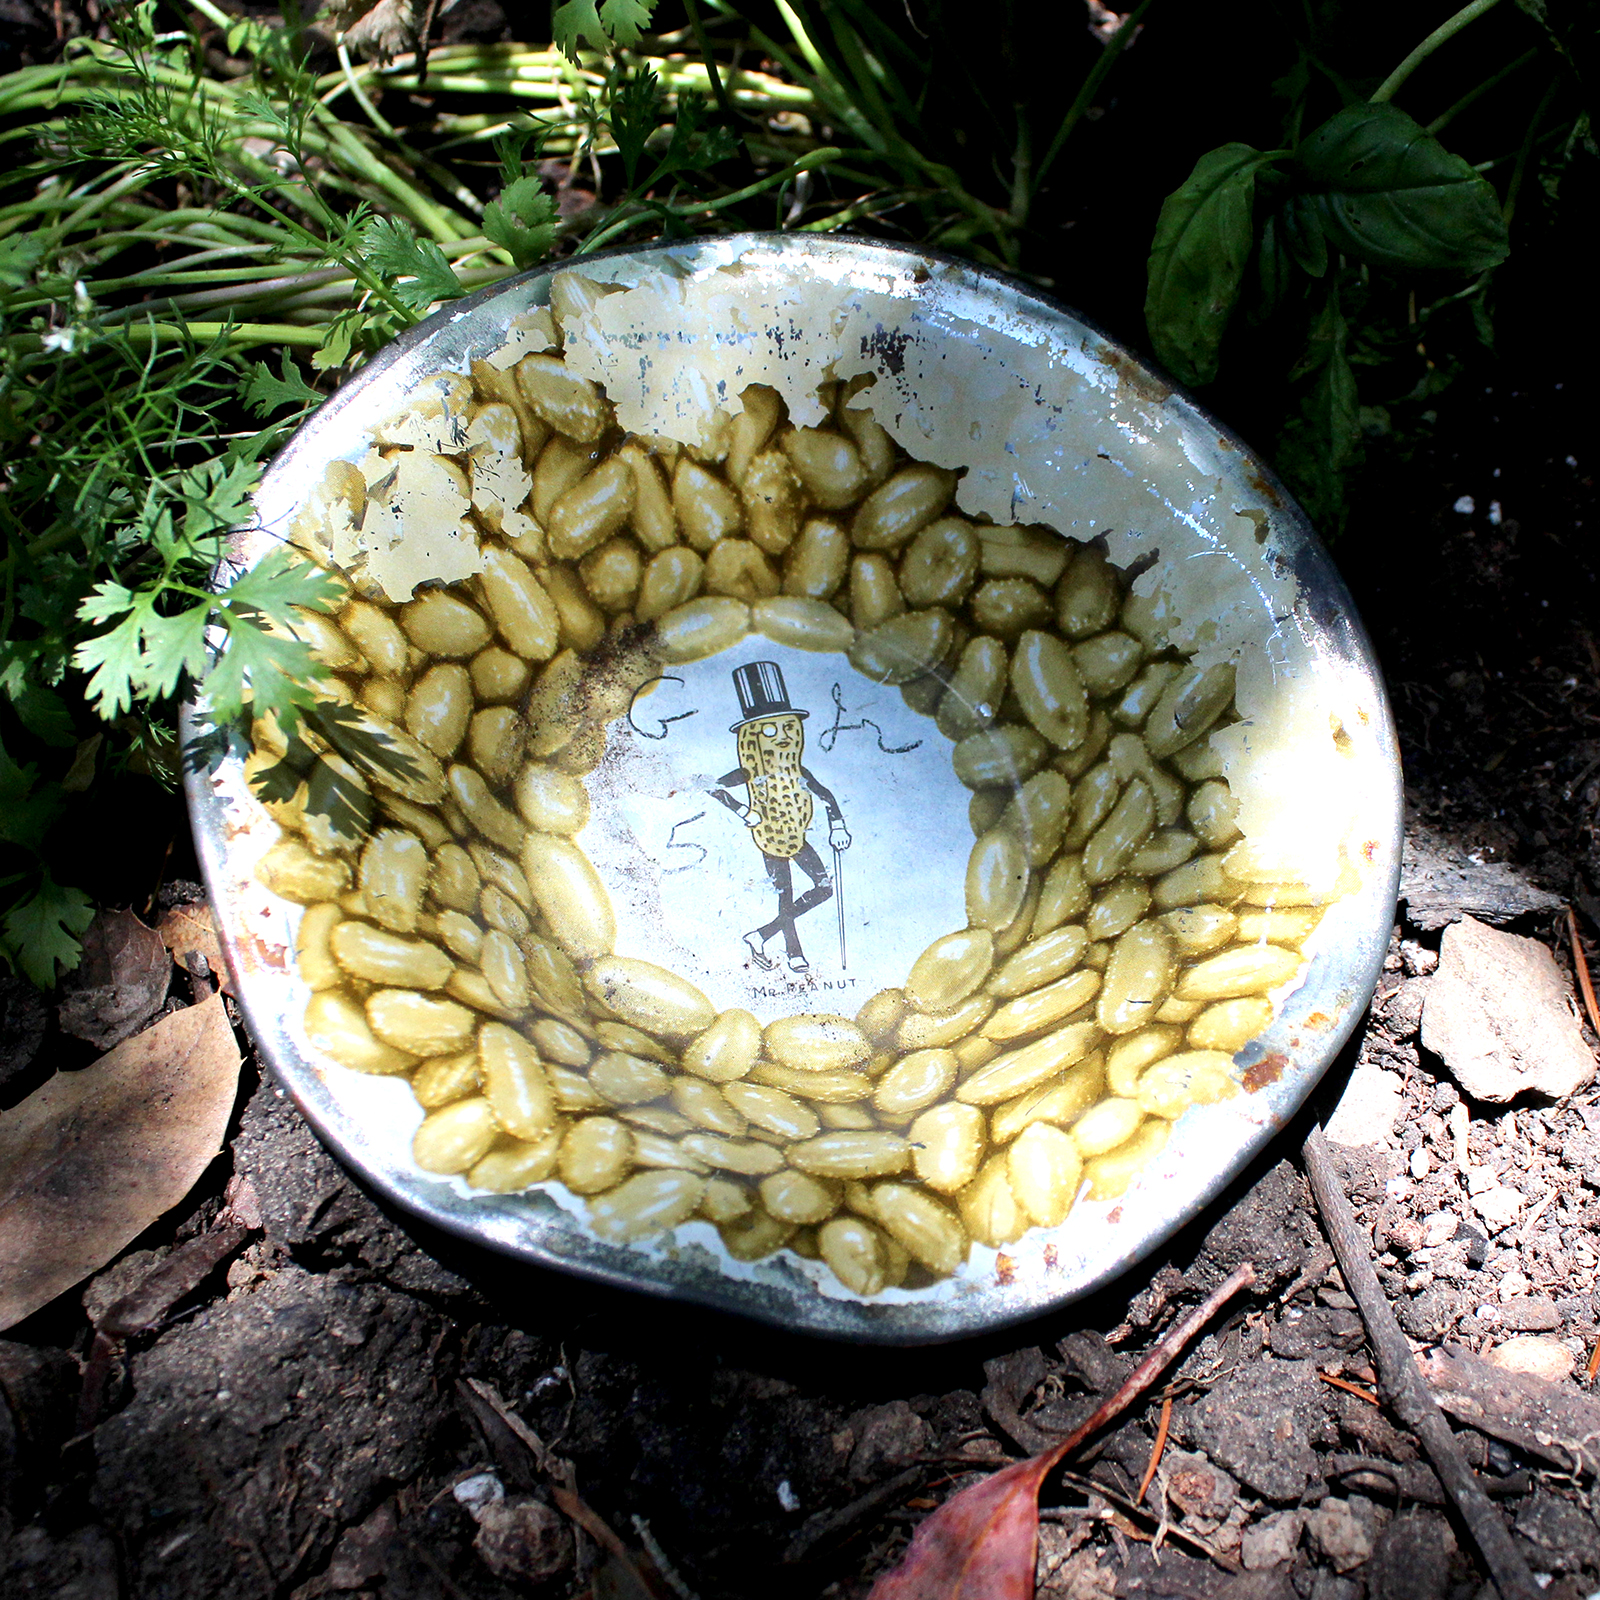
not even sure what this Planter's Peanuts dish is for but it is awesome and cost $1

not even sure what this Planter's Peanuts dish is for but it is awesome and cost $1

(maybe) Moorish brass pitcher ($5) and vase ($4)

(maybe) Moorish brass pitcher ($5) and vase ($4)

cast iron candle holders for $3/each

cast iron candle holders for $3/each

Cabinet Wood Repair, Old Growth Redwood and Cedar, Clear Grain, and a $50 piece of wood

I needed some pieces of cabinet wood. I took a piece to MacBeath lumber in Berkeley

image.jpg

I thought it was cedar, but the expert there said it was old growth redwood because it was too heavy to be cedar. "If you really want to match this, you need to go to the Lumber Baron in Albany." So it's old growth redwood, and that's hard to find and expensive. I decided to look at their cedar because if the only difference is weight, that won't matter when nailed to the wall. Plus this isn't meant to be a forever fix. In maybe 10 years I want to expand the kitchen and that's going to be super expensive and at that point I'll get some new cabinets made out of clear grain cedar or something for like 35K... Yikes

I looked through their boards and got the brownest one to match the oxidation of the old wood. I had to get "V.G. CLEAR" redwood which means clean, tight grain. At 1x6"x12', it was about $7.50 a board foot. (6" is half a foot so 6"x12' is equal to 1'x6' so 6 board feet). It was $50

image.jpg

$50 but it matches so well! 

I think I can darken it with a yellow stain

I think I can darken it with a yellow stain

Matching the finish will be hard...

It's hard to see but there's a "Mary Kay" white type finish which is a milky finish. 

It's hard to see but there's a "Mary Kay" white type finish which is a milky finish. 

The milky finish is a closest match to "pickled oak"  which looks like this on pine

image.jpg

FUN FACT: The above finish was used on Fender guitars in the '50s and '60s over Ash under the name "Mary Kay White." 


Fender "Mary Kay White" Stratocaster '57 reissue

Fender "Mary Kay White" Stratocaster '57 reissue

But our cabinets are actually a little purple

image.jpg
Back door is very purple. The picture doesn't show it but it looks more like blueberry ice cream

Back door is very purple. The picture doesn't show it but it looks more like blueberry ice cream

image.jpg
I had to shrink the cabinet up 3" to fit a modern fridge. 

I had to shrink the cabinet up 3" to fit a modern fridge. 

Now I need to cut down the door. 

image.jpg
image.jpg
image.jpg
image.jpg
image.jpg
image.jpg
image.jpg

OK! I got the original cabinet trimmed up about 3" to fit a modern fridge. I'll figure out how to reproduce the milky pink stain in another post. 

Range Backsplash

I added a hood above the range. It originally had nothing and then a homemade vent hood and it was greasy and sucky.  

After adding a hood, I needed more backsplash tile up to the hood so that the grease from the cooking surface can be wiped down. I decided to make it match the bathroom tile I extended up when I raised the shower head. 

The tile was sticking out because it was done over the original backsplash which was a weird red painted cement thing

The tile was sticking out because it was done over the original backsplash which was a weird red painted cement thing

With the old backsplash removed, I can set the tile close to the wall

With the old backsplash removed, I can set the tile close to the wall

I put up two different thickness backerboard. 1/2" for the 6x6 because they are thin, about a 1/4". 1/4" hardibacker for the clay tiles since they are about 1/2" thick. This puts the tiles in the same plane.

I put up two different thickness backerboard. 1/2" for the 6x6 because they are thin, about a 1/4". 1/4" hardibacker for the clay tiles since they are about 1/2" thick. This puts the tiles in the same plane.

I did the white tile first so it is parallel with the floor and hood.  

I did the white tile first so it is parallel with the floor and hood.  

Clay tiles sitting in place for layout to match other side. I cut out tile for the wall light fixture because I decided to keep them as a theme like in the bathroom

Clay tiles sitting in place for layout to match other side. 

I cut out tile for the wall light fixture because I decided to keep them as a theme like in the bathroom

Set first row. Tiling down is not the natural way

Set first row. Tiling down is not the natural way

I had to carefully chip out the old mortar bed to reset the corner tiles since I moved the adjacent wall back

I had to carefully chip out the old mortar bed to reset the corner tiles since I moved the adjacent wall back

Got them all set. Also fixed the plaster.

Got them all set. Also fixed the plaster.

Here it's grouted.

Here it's grouted.

I used "natural grey" grout so hopefully it'll match the old stuff and look good behind the wedgewood.